Protecting stateful workloads on Kubernetes with Kanister
Date: 2024-06-09
The source code for this lab exercise is available on GitHub.
In our previous article Running stateful workloads on Kubernetes with Rook Ceph, we saw how Kubernetes CSI enables us to take volume snapshots on supported storage backends as a first step towards protecting our data on Kubernetes. However, snapshots operate at the infrastructure level so they do not understand how applications operate, manage and structure their data. This implies that snapshots, by nature, are crash-consistent but not application-consistent. For busy stateful workloads such as databases processing many transactions per second, crash-consistency is insufficient for data protection since in-progress transactions are not recorded so restoring from a snapshot may still lead to data loss and leave the application in an inconsistent state.
Kanister provides a robust and flexible solution for defining your own actions for performing application-aware backups on Kubernetes. It is a CNCF sandbox project originally created by the Veeam Kasten team as an integral component of their enterprise-ready Kubernetes data protection platform. It does this by defining blueprints, which serve as templates for application-specific backup and restore logic. The backup administrator or application owner may then instantiate actions defined in these blueprints by creating ActionSets which perform the actual application-specific backup and recovery procedures.
This lab exercise demonstrates how to back up and restore WordPress on Kubernetes with Kanister in a reliable manner, by creating a logical database backup (database dump) and exporting it to S3 which can be imported during the restore phase to return WordPress to a known good state. The backup procedure consists of the following steps:
- Scale the WordPress deployment to zero to stop accepting user traffic and complete pending database transactions
- Take a logical dump of the database and upload it to S3
- Scale the WordPress deployment back to the original size to start accepting user traffic again
The restore procedure is also similar:
- Scale the WordPress deployment to zero to stop accepting user traffic and ensure no additional database transactions are made during the restore operation
- Download the logical database dump from S3 and import it to our running database
- Scale the WordPress deployment back to the original size to start accepting user traffic again
Lab: Back up and restore WordPress on Kubernetes with Kanister
This lab has been tested with Kubernetes v1.30 (Uwubernetes).
Prerequisites
Familiarity with running stateful workloads on Kubernetes is assumed. Before proceeding with this lab exercise, consider checking out my other articles on Kubernetes storage as well:
- Investigating a failed VolumeSnapshot with NFS on Kubernetes
- Running stateful workloads on Kubernetes with Rook Ceph
Setting up your environment
A Linux environment with at least 2 vCPUs, 8GiB memory and sufficient available disk space capable of running Docker. This can be your own desktop/laptop if you’re a Linux user (like I am ;-), or a spare board (e.g. Raspberry Pi), physical server, virtual machine or cloud instance. You’ll also need an AWS account so sign up for one if you haven’t already - the Free Tier is quite promising for new users to AWS. Otherwise, you can use any S3 compatible object storage like MinIO but beware that you’ll have to create the bucket manually and adapt some of the remaining instructions accordingly.
The reference environment is Ubuntu 24.04 LTS (Noble Numbat) so if you’re on a different Linux distribution, adapt apt-related commands with dnf / pacman / something else accordingly when installing system packages. Otherwise, the remaining instructions should be broadly applicable to most Linux distributions.
Configure your AWS credentials
Create an IAM administrator account, then generate access and secret keys for that account and configure your AWS credentials for programmatic access. The simplest way to do so and confirm that you have your AWS credentials set up correctly is by installing and setting up AWS CLI v2, then running a simple command such as the one below as a sanity check:
aws ec2 describe-instances
Sample output:
{
    "Reservations": []
}
Install OpenTofu
We’ll use OpenTofu to create our S3 bucket and generate restricted IAM credentials automatically for performing backup and restore operations to and from S3. OpenTofu is an open-source fork of Terraform compatible with legacy Terraform (<= 1.5).
The latest version at the time of writing is 1.7.2.
wget https://github.com/opentofu/opentofu/releases/download/v1.7.2/tofu_1.7.2_linux_amd64.tar.gz
tar xvf tofu_1.7.2_linux_amd64.tar.gz
chmod +x ./tofu
sudo mv ./tofu /usr/local/bin/.
Check that we have the correct version installed:
tofu version
Sample output:
OpenTofu v1.7.2
on linux_amd64
Install Docker
We’ll use Docker to spin up a kind Kubernetes cluster. It’s convenient, fast, simple and sufficient for this lab exercise.
Install the Docker engine and add the current user to the docker group:
sudo apt update && sudo apt install -y docker.io
sudo usermod -aG docker "${USER}"
Log out and in for the changes to take effect.
Check that we have the correct version of Docker installed:
docker version
Sample output:
Client:
 Version:           24.0.7
 API version:       1.43
 Go version:        go1.22.2
 Git commit:        24.0.7-0ubuntu4
 Built:             Wed Apr 17 20:08:25 2024
 OS/Arch:           linux/amd64
 Context:           default

Server:
 Engine:
  Version:          24.0.7
  API version:      1.43 (minimum version 1.12)
  Go version:       go1.22.2
  Git commit:       24.0.7-0ubuntu4
  Built:            Wed Apr 17 20:08:25 2024
  OS/Arch:          linux/amd64
  Experimental:     false
 containerd:
  Version:          1.7.12
  GitCommit:
 runc:
  Version:          1.1.12-0ubuntu3
  GitCommit:
 docker-init:
  Version:          0.19.0
  GitCommit:
Install kind and spin up a cluster
Just follow the instructions in their Quickstart:
# For AMD64 / x86_64
[ $(uname -m) = x86_64 ] && curl -Lo ./kind https://kind.sigs.k8s.io/dl/v0.23.0/kind-linux-amd64
# For ARM64
[ $(uname -m) = aarch64 ] && curl -Lo ./kind https://kind.sigs.k8s.io/dl/v0.23.0/kind-linux-arm64
chmod +x ./kind
sudo mv ./kind /usr/local/bin/kind
Check the correct kind version is installed:
kind version
Sample output:
kind v0.23.0 go1.21.10 linux/amd64
Now our Kubernetes cluster is but a single command away:
kind create cluster
Install and configure kubectl
Again, the official instructions will suffice:
curl -LO "https://dl.k8s.io/release/$(curl -L -s https://dl.k8s.io/release/stable.txt)/bin/linux/amd64/kubectl"
chmod +x ./kubectl
sudo mv ./kubectl /usr/local/bin/.
Check that kubectl is correctly installed:
kubectl version
Sample output:
Client Version: v1.30.1
Kustomize Version: v5.0.4-0.20230601165947-6ce0bf390ce3
Server Version: v1.30.0
For command-line completion, add the following line to your ~/.bashrc:
source <(kubectl completion bash)
Now save the file and run:
source ~/.bashrc
Install and configure Helm
The latest version is 3.15.1 at the time of writing.
wget https://get.helm.sh/helm-v3.15.1-linux-amd64.tar.gz
tar xvf helm-v3.15.1-linux-amd64.tar.gz
chmod +x linux-amd64/helm
sudo mv linux-amd64/helm /usr/local/bin/.
Check that Helm is installed:
helm version
Sample output:
version.BuildInfo{Version:"v3.15.1", GitCommit:"e211f2aa62992bd72586b395de50979e31231829", GitTreeState:"clean", GoVersion:"go1.22.3"}
Optionally append the following line to your ~/.bashrc and source it for Helm command-line completion:
source <(helm completion bash)
Install Go 1.22
Go is the programming language underpinning Kubernetes and much of the cloud native ecosystem. Not surprisingly, Kanister is written in Go as well.
We need to install the Go SDK and toolchain for building and installing the Kanister command-line tools from source. Unfortunately, there seems to be no officially published binaries that can be downloaded directly.
wget https://go.dev/dl/go1.22.4.linux-amd64.tar.gz
sudo bash -c "rm -rf /usr/local/go && tar -C /usr/local -xzf go1.22.4.linux-amd64.tar.gz"
Now append the following line to your ~/.profile:
export PATH="$PATH:/usr/local/go/bin"
Log out and in again for the changes to take effect.
Confirm the correct version of Go is installed:
go version
Sample output:
go version go1.22.4 linux/amd64
Install the Kanister tools
Follow the official instructions here as well:
curl https://raw.githubusercontent.com/kanisterio/kanister/master/scripts/get.sh | bash
Check that kanctl is installed which we’ll use later:
kanctl --version
Sample output:
kanctl version {"version": "0.109.0", "gitCommit": "568148b76a38064d716025c0b639eb398f2dc782", "buildDate": "2024-05-23T02:33:07Z"}
Installing WordPress
With all that out of the way, we’re now all set to install WordPress on our cluster.
Let’s use the Helm chart published by Bitnami. Add the Bitnami repo and refresh repository metadata:
helm repo add bitnami https://charts.bitnami.com/bitnami
helm repo update
Now install WordPress in a new namespace wordpress with the default options and the release name wordpress:
helm -n wordpress install \
    wordpress \
    bitnami/wordpress \
    --version 22.4.8 \
    --create-namespace
Sample output:
NAME: wordpress
LAST DEPLOYED: Sun Jun  9 08:48:13 2024
NAMESPACE: wordpress
STATUS: deployed
REVISION: 1
TEST SUITE: None
NOTES:
CHART NAME: wordpress
CHART VERSION: 22.4.8
APP VERSION: 6.5.4
...
Wait for all pods in our WordPress instance to become ready:
kubectl -n wordpress wait \
    --for=condition=Ready \
    pods \
    --all \
    --timeout=180s
Sample output:
pod/wordpress-5cffb559cf-wqp2k condition met
pod/wordpress-mariadb-0 condition met
Installing the Kanister operator
The Kanister operator is responsible for managing Kanister-specific custom resources such as blueprints, ActionSets and location profiles. Install the operator via the official Helm chart.
Add the Kanister repository and refresh repository metadata:
helm repo add kanister https://charts.kanister.io/
helm repo update
Now install it in the kanister namespace with the default options:
helm -n kanister install \
    kanister \
    kanister/kanister-operator \
    --create-namespace
Wait for the operator to become ready:
kubectl -n kanister wait \
    --for=condition=Ready \
    pods \
    -l app=kanister-operator \
    --timeout=180s
Sample output:
pod/kanister-kanister-operator-549c65f8c9-r29vj condition met
Creating our S3 bucket for storing our Kanister backups
Clone the repository for this lab exercise and navigate to the project directory:
git clone https://github.com/DonaldKellett/kanister-wordpress.git
cd kanister-wordpress/
Now initialize OpenTofu and apply the configuration. Answer yes when prompted:
tofu init
tofu apply
The S3 bucket is now created and the manifests for the location profile with the corresponding secret generated under manifests/ for pointing Kanister to our S3 bucket during the backup and restore operations:
manifests/secret.yamlmanifests/profile.yaml
Feel free to check out the blueprint as well:
manifests/blueprint.yaml
The blueprint is responsible for defining the following actions:
quiesce: Scale the WordPress deployment to zero before a backup / restore operationunquiesce: the opposite ofquiescewhich scales the WordPress deployment back up to its original sizebackup: Performs a logical dump of the WordPress database and uploads it to S3restore: Fetches a remote database dump from S3 and imports it to our running database
Backing up our WordPress database to S3
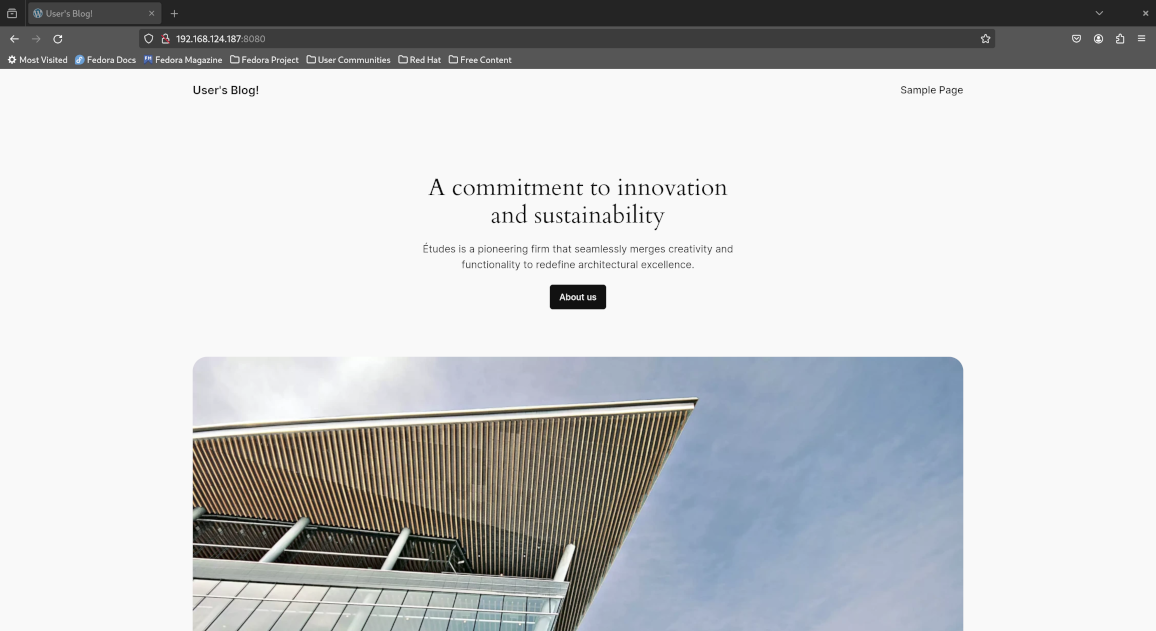
We’re all set to back up our WordPress database to S3, but before that, let’s take a look at our WordPress instance.
Port-forward the wordpress service in the wordpress namespace to port 8080:
kubectl -n wordpress port-forward svc/wordpress 8080:80
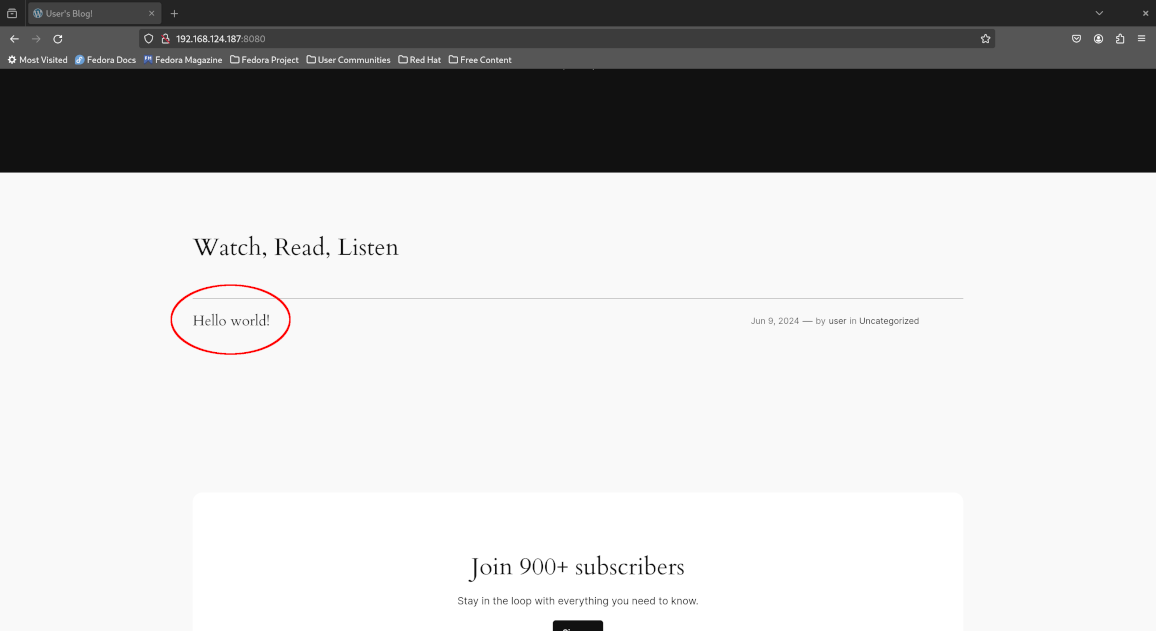
Leave the current terminal window open and open a new window (tab) to run subsequent commands in this lab. Now open your browser and visit the page at http://localhost:8080/. Notice that there is a single “Hello World” blog post.

Return to the command line and create the blueprint:
kubectl create -f manifests/blueprint.yaml
Create a location profile and corresponding secret as well to point to our S3 bucket where we’ll store our database dumps to.
kubectl create -f manifests/secret.yaml
kubectl create -f manifests/profile.yaml
Now use kanctl to run the quiesce action in our blueprint. This causes WordPress to drop all user traffic so pending database transactions are allowed to complete and no new database transactions are initiated by the frontend.
kanctl -n kanister create actionset \
    --action quiesce \
    --blueprint wordpress-bp \
    --deployment wordpress/wordpress
Make note of the name of the created ActionSet since we’ll need to refer to it later during the unquiesce operation:
actionset quiesce-pp78r created
Wait for the ActionSet to complete - replace the variable QUIESCE_ACTIONSET with your ActionSet name above:
QUIESCE_ACTIONSET="quiesce-pp78r" # Replace me!
kubectl -n kanister wait \
    --for=jsonpath='{.status.state}'=complete \
    actionsets.cr.kanister.io \
    "${QUIESCE_ACTIONSET}" \
    --timeout=180s
Sample output:
actionset.cr.kanister.io/quiesce-pp78r condition met
Now run the backup action - again, make note of the name since we’ll need it for the restore process:
kanctl -n kanister create actionset \
    --action backup \
    --blueprint wordpress-bp \
    --profile wordpress-s3-profile \
    --statefulset wordpress/wordpress-mariadb
Sample output:
actionset backup-sm8pn created
Wait for the backup ActionSet to complete - once again, replace the variable as appropriate:
BACKUP_ACTIONSET="backup-sm8pn" # Replace me!
kubectl -n kanister wait \
    --for=jsonpath='{.status.state}'=complete \
    actionsets.cr.kanister.io \
    "${BACKUP_ACTIONSET}" \
    --timeout=180s
Sample output:
actionset.cr.kanister.io/backup-sm8pn condition met
Now un-quiesce our WordPress application so it can serve user requests again:
QUIESCE_ACTIONSET="quiesce-pp78r" # Replace me!
kanctl -n kanister create actionset \
    --action unquiesce \
    --from "${QUIESCE_ACTIONSET}"
Sample output:
actionset unquiesce-quiesce-pp78r-kdkgv created
Wait once again for the operation to complete:
UNQUIESCE_ACTIONSET="unquiesce-quiesce-pp78r-kdkgv" # Replace me!
kubectl -n kanister wait \
    --for=jsonpath='{.status.state}'=complete \
    actionsets.cr.kanister.io \
    "${UNQUIESCE_ACTIONSET}" \
    --timeout=180s
Sample output:
actionset.cr.kanister.io/unquiesce-quiesce-pp78r-kdkgv condition met
“Accidentally” deleting our Hello World blog post
At this point, our port-forward command lost connection to the previous pod due to the quiesce operation so establish the connection again:
kubectl -n wordpress port-forward svc/wordpress 8080:80
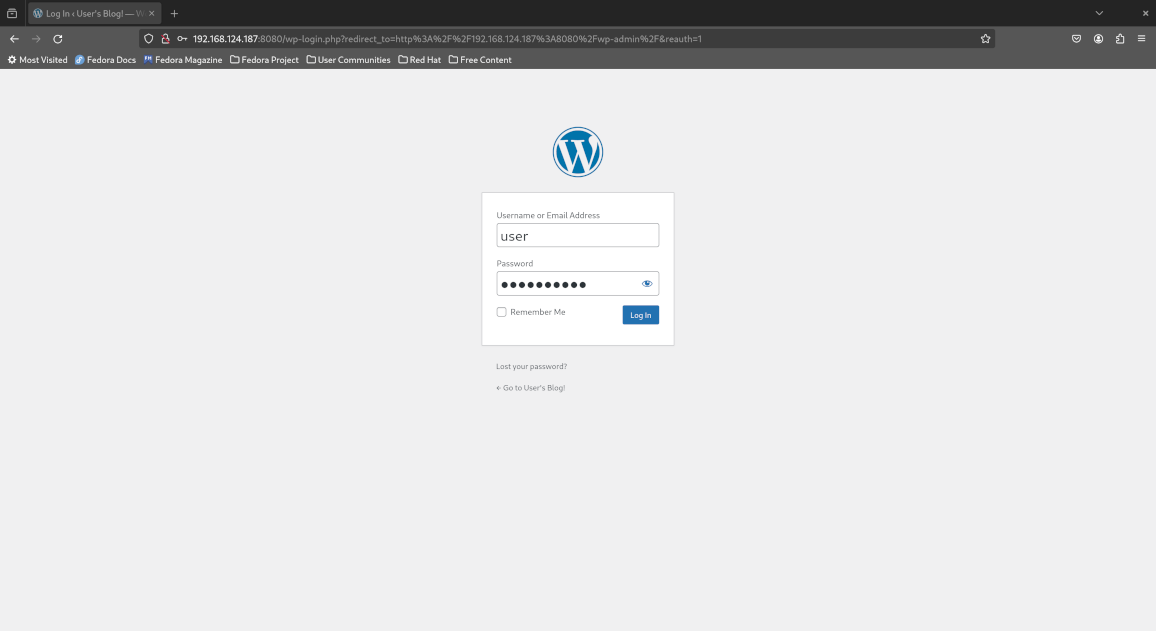
Now log in to the WordPress administrator dashboard by pointing your browser to http://localhost:8080/wp-admin/ and entering the following credentials:
- Username:
user - Password: fetch the password from the
wordpress-passwordkey of thewordpresssecret
To fetch the password, run the following command:
kubectl -n wordpress get secret \
    wordpress \
    -o jsonpath='{.data.wordpress-password}' | \
    base64 -d -
Once logged in to the dashboard, click “At a Glance > 1 Post” to view the published blog posts, proceed to move the Hello World blog post to the trash and confirm the deletion by deleting it permanently.
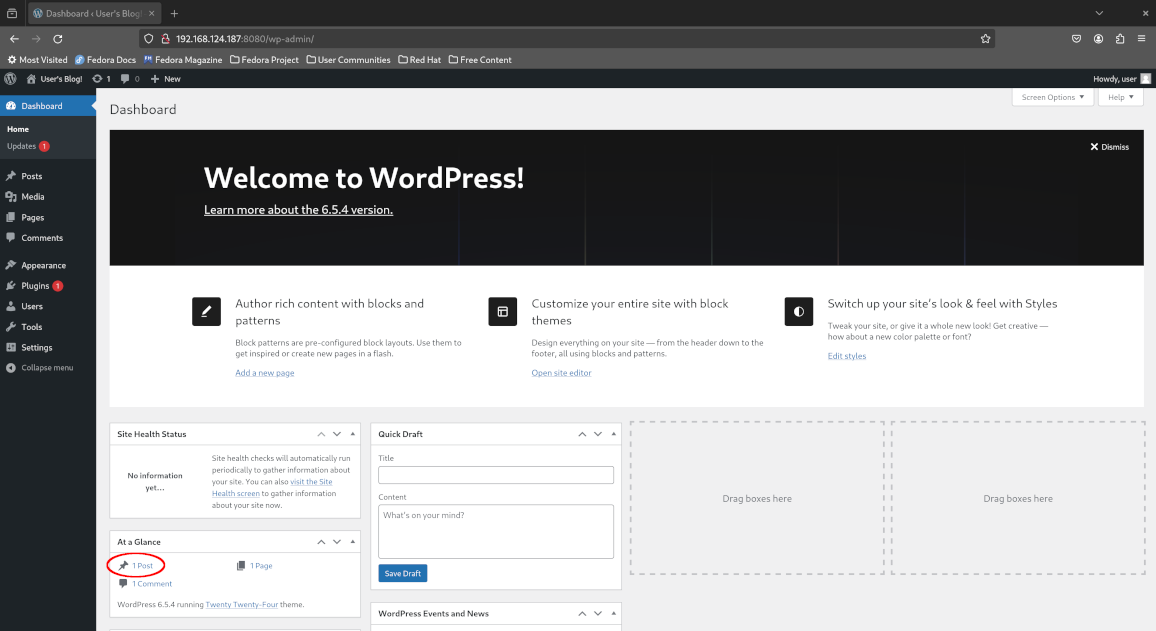
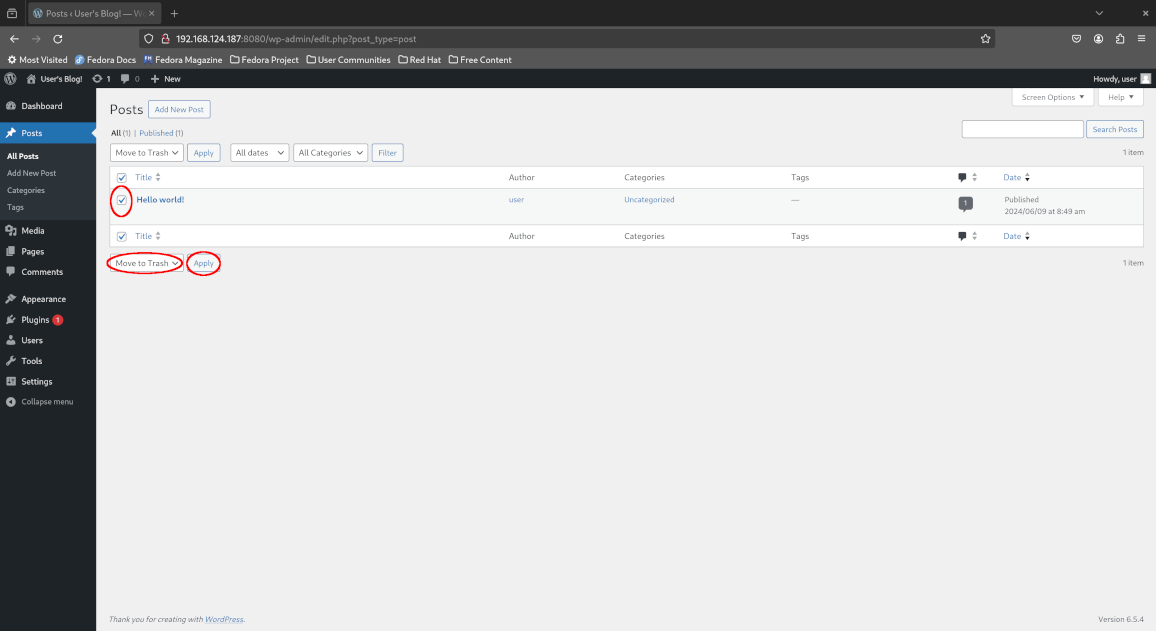
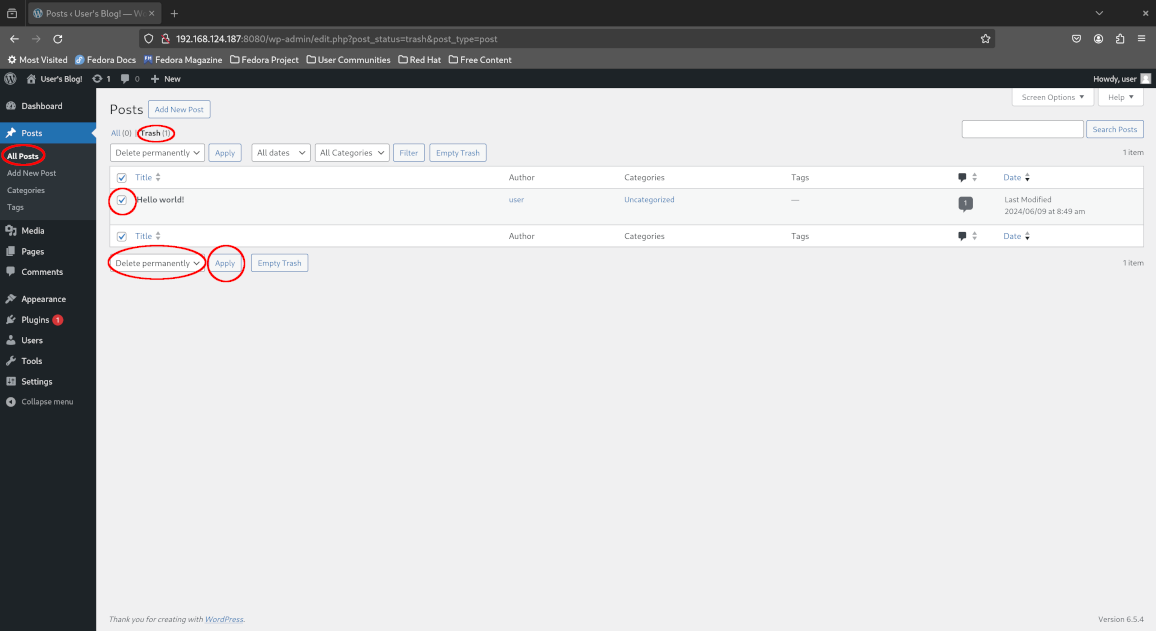
Return to the admin dashboard and confirm that no blog posts are remaining. Oops - we’ve accidentally deleted our very important blog post!

Restoring our WordPress database from S3
Fortunately, we backed our database to S3 so we can restore our WordPress instance to a known good state.
Quiesce our WordPress application again and take note of the ActionSet name:
kanctl -n kanister create actionset \
    --action quiesce \
    --blueprint wordpress-bp \
    --deployment wordpress/wordpress
Sample output:
actionset quiesce-ms6z6 created
Wait for the quiesce operation to complete:
QUIESCE_ACTIONSET="quiesce-ms6z6" # Replace me!
kubectl -n kanister wait \
    --for=jsonpath='{.status.state}'=complete \
    actionsets.cr.kanister.io \
    "${QUIESCE_ACTIONSET}" \
    --timeout=180s
Sample output:
actionset.cr.kanister.io/quiesce-ms6z6 condition met
Now run the restore action from the backup we just created earlier:
BACKUP_ACTIONSET="backup-sm8pn" # Replace me!
kanctl -n kanister create actionset \
    --action restore \
    --from "${BACKUP_ACTIONSET}"
Sample output:
actionset restore-backup-sm8pn-lwvck created
Wait for the restore action to complete:
RESTORE_ACTIONSET="restore-backup-sm8pn-lwvck" # Replace me!
kubectl -n kanister wait \
    --for=jsonpath='{.status.state}'=complete \
    actionsets.cr.kanister.io \
    "${RESTORE_ACTIONSET}" \
    --timeout=180s
Sample output:
actionset.cr.kanister.io/restore-backup-sm8pn-lwvck condition met
Unquiesce our WordPress instance once more:
QUIESCE_ACTIONSET="quiesce-ms6z6" # Replace me!
kanctl -n kanister create actionset \
    --action unquiesce \
    --from "${QUIESCE_ACTIONSET}"
Sample output:
actionset unquiesce-quiesce-ms6z6-z74s8 created
Wait for the unquiesce action to complete:
UNQUIESCE_ACTIONSET="unquiesce-quiesce-ms6z6-z74s8" # Replace me!
kubectl -n kanister wait \
    --for=jsonpath='{.status.state}'=complete \
    actionsets.cr.kanister.io \
    "${UNQUIESCE_ACTIONSET}" \
    --timeout=180s
Sample output:
actionset.cr.kanister.io/unquiesce-quiesce-ms6z6-z74s8 condition met
Re-establish the connection for the port-forward command which was lost again due to the quiesce operation:
kubectl -n wordpress port-forward svc/wordpress 8080:80
Observe that the Hello World blog post is successfully restored:
Congratulations! You successfully backed up and restored WordPress on Kubernetes with Kanister!
Concluding remarks and going further
We saw how Kanister can be used to define your own blueprints and actions to perform application-specific backup and recovery operations on Kubernetes. This ensures that your backups are application-consistent and can be safely restored from in case of human error or partial storage failure without compromsing on the consistency of the data from the application’s perspective.
For a comprehensive enterprise-ready Kubernetes backup and disaster recovery (DR) solution suitable for production Kubernetes environments, do check out Veeam Kasten (formerly Kasten K10) as well which is available for evaluation at no cost for small non-production clusters with up to 5 nodes.
Subscribe:
![]()
![]()
![[Valid RSS]](/assets/images/valid-rss-rogers.png)
![[Valid Atom 1.0]](/assets/images/valid-atom.png)