Building my AI homelab, part 1
Date: 2026-06-28
The source code for this article is available on GitHub.
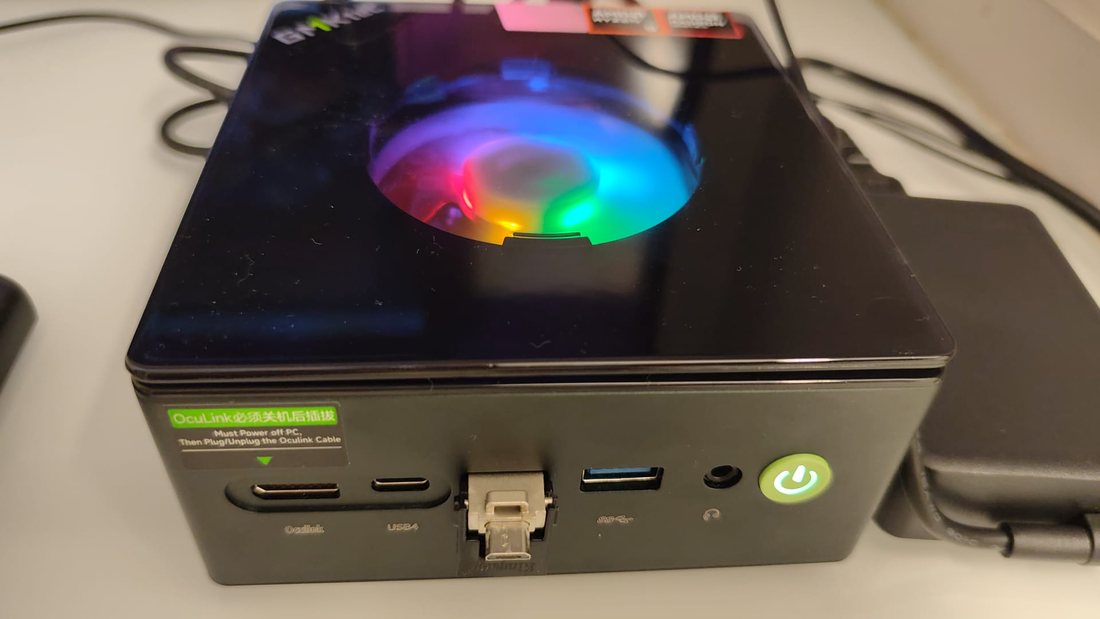
I recently purchased the GMKtec NucBox K11 Mini PC for building my AI homelab and support my ongoing journey on MLOps and deep learning. This blog post explains my motivations for building my AI homelab, the difficulties I encountered along the way, the design decisions I made to arrive at my current setup and my next steps once the OrangePi AI Studio Pro extension dock is available.
A big thank you to my employer Enfinity Solutions for arranging the Mini PC purchase and making this all possible!
Background and motivation
Back in January 2026, I purchased the OrangePi AIpro (20T) to kickstart my deep learning journey with Dive into Deep Learning (D2L) based on the MindSpore deep learning framework and CANN ecosystem optimized for Huawei’s Ascend AI processors.
My initial goal was to familiarize myself with the concepts of machine learning and gain hands-on experience training and fine-tuning modern deep neural networks such as those based on the Transformer architecture commonly found in LLMs like ChatGPT and DeepSeek.
While the OrangePi AIpro (20T) helped me get through the basics of deep learning, the 20 TOPS AI computing power of the Ascend 310B1 edge inferencing NPU chip quickly revealed its limitations. Within 3 months of starting my deep learning journey (2026-03 to 2026-05), I got from training my very first linear neural network to training modern CNNs such as ResNet predating the current generative / agentic AI era. However, even training the simplest variation ResNet18 on a simple dataset such as Fashion MNIST took about 1-2 hours to complete.
It soon became clear that I would need to upgrade my current hardware setup to continue my deep learning journey, hence my purchase of the AI Studio Pro extension dock in 2026-06 featuring 2 Ascend 310P4 NPUs offering a total of 352 TOPS / 176 TFLOPS of AI processing power. The extension dock alone does not provide a complete AI computing environment and must be paired with a standard x86 PC such as the NucBox K11 which I also purchased.
Unfortunately, the AI Studio Pro is currently in great demand with limited stock so I am still waiting for it to be available at the time of writing. In the meantime, my NucBox K11 arrived and the remainder of this blog post describes my existing AI homelab setup on the NucBox K11 with its current limitations.
Design considerations and trade-offs
The major goals for building my AI homelab are as below.
- Familiarize myself with the MindSpore deep learning framework and CANN ecosystem lead by Huawei which is quickly dominating the Chinese domestic market and displacing NVIDIA’s CUDA ecosystem
- Learn the basics of training and fine-tuning large language models (LLMs) based on the Transformer architecture used in popular foundation models such as ChatGPT and DeepSeek
- Familiarize myself with the operational aspects of deep learning known as MLOps - how to deploy, manage and scale deep learning workloads in a production-ready environment such as Kubernetes
- Spin up Jupyter notebooks for rapid experimentation with varying hardware resources and popular deep learning frameworks such as PyTorch and MindSpore pre-installed, without manually creating Python virtual environments and managing package dependencies across projects
With the following goals in mind, the components used in my AI homelab and the trade-offs considered are described below.
Kubernetes as the base environment with K3s
Modern AI workloads are tailored to container-native environments such as Kubernetes. Furthermore, containers provide a standardized operating environment with pre-installed software for my Jupyter notebooks, obviating the need to manage Python virtual environments and package dependencies across projects manually. As such, Kubernetes was the natural starting point for building my AI homelab.
Since I’m running Kubernetes on a single PC with no high-availability (HA) requirements and which needs to be stopped and started quickly, K3s was the natural choice for my Kubernetes distribution. With K3s, setting up Kubernetes was a breeze and its lightweight, un-opinionated nature enables me to deploy just the right components for my use case, giving more headroom for my deep learning workloads.
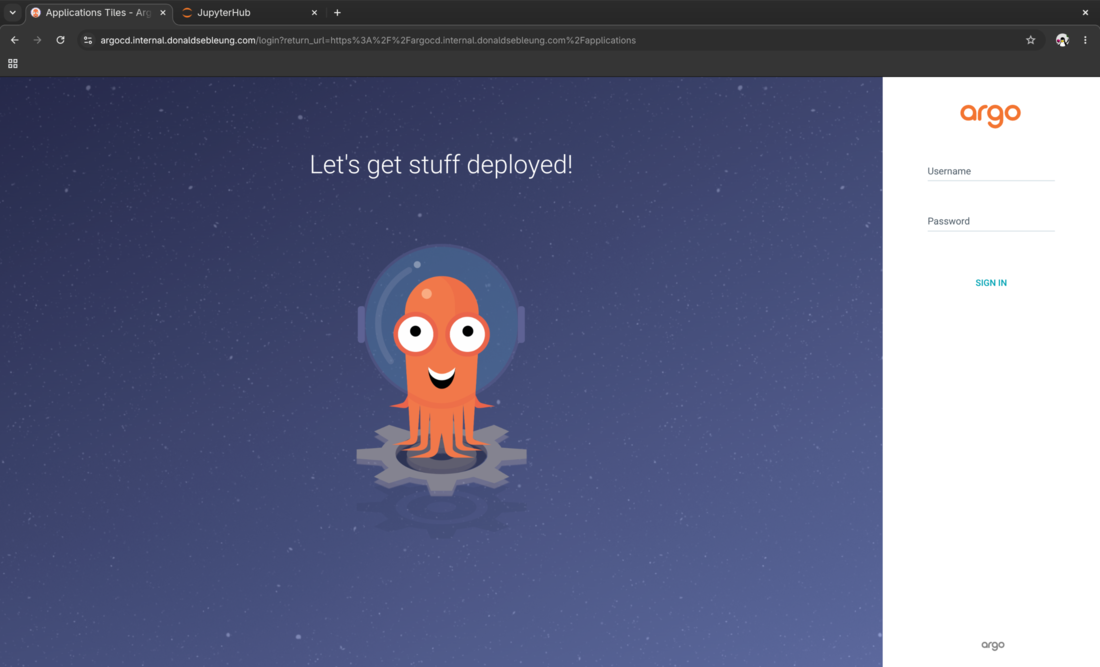
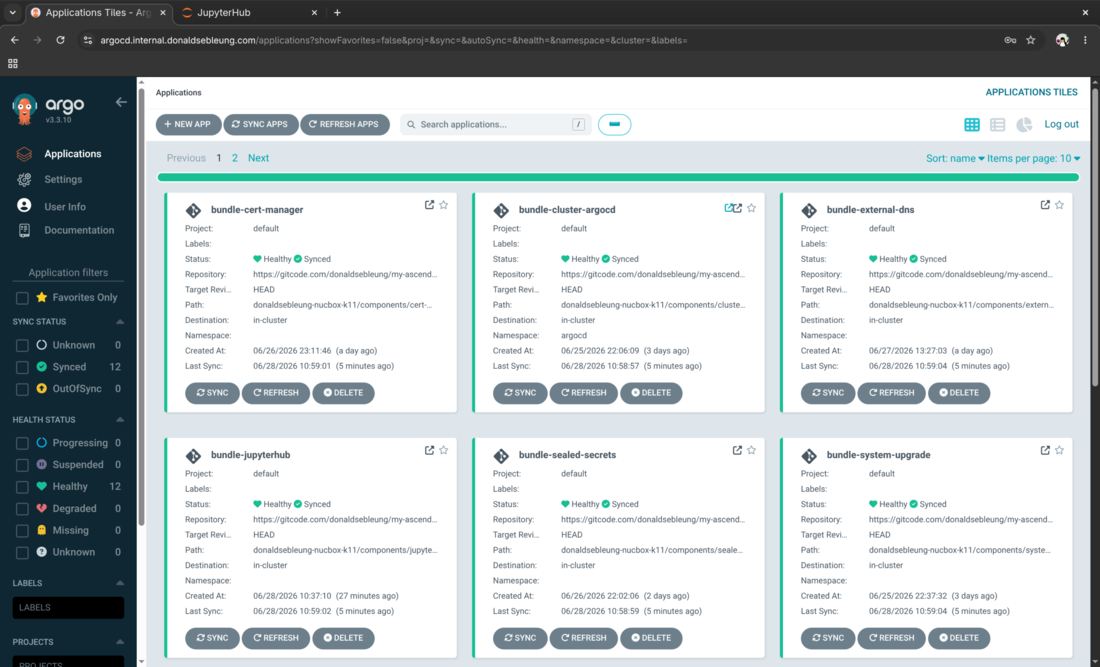
Argo CD for managing my platform components with GitOps
My AI homelab requires multiple components installed, spread across various Kustomize manifests and Helm charts. Installing them manually with ad-hoc kubectl and helm commands makes it difficult to keep track of what was installed and makes it difficult to reliably upgrade these components when new security fixes and features are available.
As such, I decided to adopt a GitOps workflow to manage these components transparently and prevent configuration drift. This left me with 2 choices: Argo CD or Flux. Both are mature GitOps solutions each with its own advantages. I went with the former since the web UI is more mature and Argo CD is the go-to GitOps solution by leading enterprise Kubernetes distributions such as Rancher and OpenShift. Plus, I took the DO380 v4.14 course by Red Hat in late 2025 which covered enterprise Argo CD deployment practices such as the App of Apps pattern. I simply wanted to give it a try and see how it goes ;-)
Check out my Argo CD GitOps repository: DonaldKellett/my-ascend-gitops
Rancher system-upgrade-controller for managing Kubernetes upgrades
While K3s is easy to upgrade manually, it’s better to automate it for more consistent and reliable results. Rancher provides a system-upgrade-controller to manage K3s upgrades automatically via Plan custom resources.
An added benefit of managing K3s upgrades with Plan custom resources is that it can be managed declaratively via GitOps and the current running K3s version v1.35.5+k3s1 is explicitly documented in the GitOps repository.
Bitnami Sealed Secrets for secrets management
A major pain point of implementing GitOps without a proper secrets management solution is that:
- Either the base64-encoded Kubernetes secrets are pushed directly to the GitOps repository which is as good as publishing them in plaintext, or
- The Kubernetes secrets are omitted from the GitOps repository with no additional offsite copy in case the cluster is unavailable or compromised
There are 2 mainstream solutions for managing Kubernetes secrets in production.
- External Secrets Operator (ESO): delegates secrets to an external secrets provider outside Kubernetes such as AWS KMS, Azure Key Vault and HashiCorp Vault / OpenBao
- Bitnami Sealed Secrets: automatically manages the lifecycle of encryption keys in Kubernetes and uses them to encrypt Kubernetes secrets via
SealedSecretcustom resources
Since I want my AI homelab to be as self-contained as possible with minimal dependency on external services, Sealed Secrets was the most appropriate option for my use case. Instead of creating Kubernetes secrets directly on the cluster, the Secret manifest is generated on the client side only and passed to the kubeseal CLI to generate the corresponding SealedSecret containing the encrypted secret. The SealedSecret is then pushed to the GitOps repository which can only be decrypted with the pre-existing keys on our local cluster and the custom resource owns the corresponding Kubernetes secret after decryption.
cert-manager for TLS certificate management
cert-manager is the de-facto solution for managing TLS certificates in Kubernetes. No other solution comes close ;-)
Without cert-manager, the flow for generating signed TLS certificates for HTTPS is manual and error-prone.
- Generate a root CA certificate-key pair with the OpenSSL CLI
openssland store it safely. This only needs to be done once - Use
opensslto generate a TLS certificate-key pair for our web server manually, valid for the list of DNS hostnames and IP addresses under the Subject Alternative Name (SAN) field - Create a Kubernetes TLS secret manually containing the web server certificate-key pair in (2)
- Reference the Kubernetes TLS secret in (3) in the corresponding Ingress resource
The openssl CLI is known for its complexity and verbosity with many configurable options. I still can’t remember the exact options available and have to ~~ask Gemini~~ Google search to recall the exact command line options used (-:
It’s also easy to silently omit a critical option such as forgetting to include the SAN, in which case the web server simply refuses to present the TLS certificate leading to vague errors which are difficult to diagnose and troubleshoot.
With cert-manager, I just generate the root CA-key pair once and use it to define my ClusterIssuer. With the ClusterIssuer defined, I can request TLS Certificates through custom resources referencing my ClusterIssuer and get the corresponding TLS secret automatically and ready for use.
With external-facing production services, cert-manager can also automate ACME challenges paired with ExternalDNS to request and sign certificates from a trusted provider such as Let’s Encrypt. Since my AI homelab is only available internally, I decided Let’s Encrypt certificates would be overkill and manually defining my ClusterIssuer with my custom root CA was sufficient for my use case.
ExternalDNS for managing DNS within my home network
The default CoreDNS instance is only available within Kubernetes for intra-cluster DNS resolution. Without ExternalDNS integration with a supported provider such as Amazon Route 53 or Cloudflare DNS, DNS records for services exposed via Ingress or Gateway API resources must be created manually for external users to reach them properly.
With the goal of making my homelab self-sufficient, relying on an external DNS provider did not make sense and would only increase the cost and operational complexity. Fortunately, ExternalDNS supports CoreDNS with etcd backend as an “external” DNS provider for self-hosted setups.
Instead of modifying the existing in-cluster CoreDNS and Kubernetes etcd backend, separate CoreDNS and etcd instances were deployed to a dedicated namespace external-dns for serving “external” DNS traffic within my home network. My setup is based on the official CoreDNS with etcd backend tutorial with the below modifications.
- Deploy to
external-dnsnamespace instead ofdefault - Remove the etcd
NodePortservice since it’s exposed in the tutorial for testing purposes only - Expose the “external” CoreDNS as a
LoadBalancerservice with the default port53/udp. This allows other devices on my home network such as my Redmi Book 14 laptop running Fedora Workstation 44 to use it to resolve hostnames of the form*.internal.donaldsebleung.comgenerated by ExternalDNS
To allow my laptop to seamlessly access the services from my AI homelab while ensuring uninterrupted Internet access even when my NucBox K11 is powered off, I configured a split-horizon DNS setup on my laptop via the drop-in configuration file /etc/systemd/resolved.conf.d/99-split-dns.conf shown below.
[Resolve]
DNS=192.168.0.125
Domains=~internal.donaldsebleung.com
This instructs systemd-resolved to query the “external” CoreDNS running on my NucBox K11 for lab addresses ending in internal.donaldsebleung.com while retaining the default DHCP-provided DNS configuration for Internet DNS queries. The output from resolvectl status is shown below.
Global
         Protocols: LLMNR=resolve -mDNS -DNSOverTLS DNSSEC=no/unsupported
  resolv.conf mode: stub
Current DNS Server: 192.168.0.125
       DNS Servers: 192.168.0.125
        DNS Domain: ~internal.donaldsebleung.com

Link 2 (wlp0s20f3)
    Current Scopes: DNS LLMNR/IPv4 LLMNR/IPv6
         Protocols: +DefaultRoute LLMNR=resolve -mDNS -DNSOverTLS DNSSEC=no/unsupported
Current DNS Server: 192.168.0.1
       DNS Servers: 192.168.0.1
     Default Route: yes
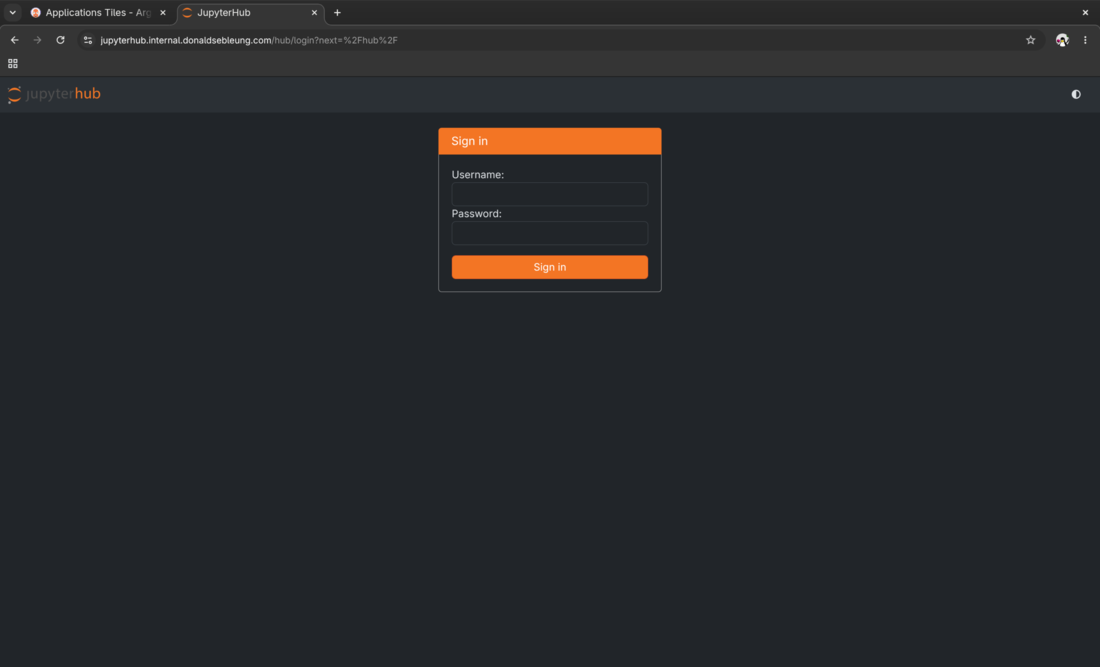
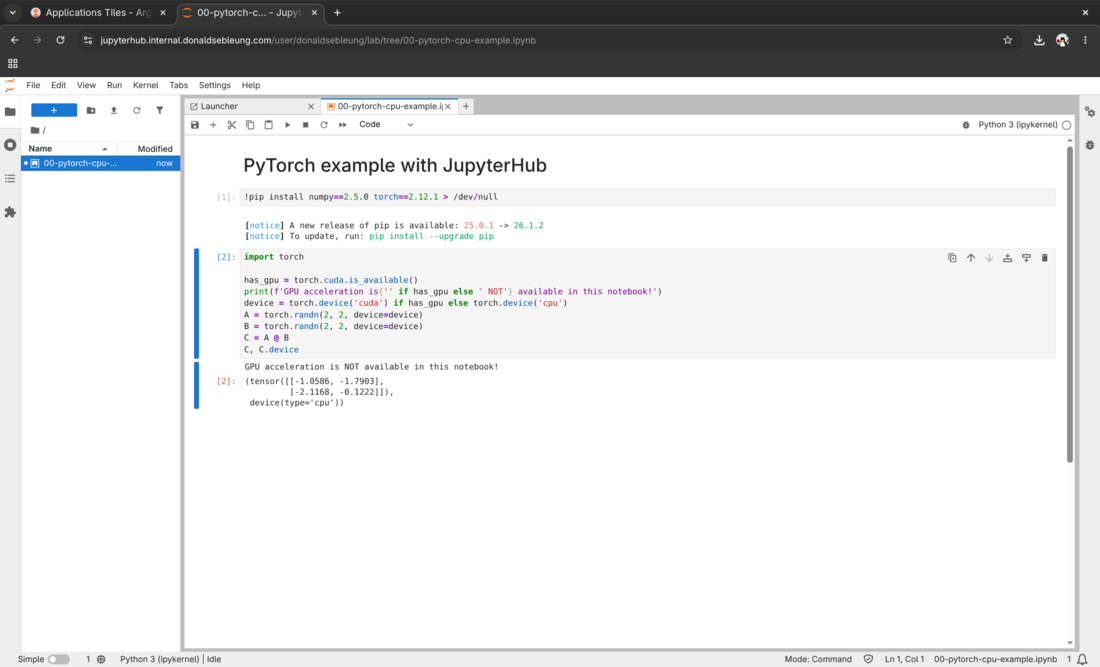
JupyterHub for self-service notebook provisioning
All the services mentioned so far are core infrastructure components which do not directly enable me to provision Jupyter notebooks on demand. For that, I chose JupyterHub which is directly supported by the upstream Jupyter project. The Kubernetes distribution of JupyterHub is also known as Zero to JupyterHub with Kubernetes (Z2JH).
A major advantage of JupyterHub is that it’s dedicated to provisioning standardized, reproducible notebook environments and nothing else which is exactly what I need. This keeps my setup lightweight and resource-efficient, leaving more headroom for my actual deep learning workloads.
In contrast, Kubeflow provides services encompassing the entire MLOps lifecycle including a model registry, model serving with KServe and KFP for running distributed training pipelines, none of which I need at the moment. It’s also very heavyweight and requires special attention to deploy in a production-ready configuration as opposed to a one-off demo. That’s why I decided to go with JupyterHub as opposed to Kubeflow in the end.
Concluding remarks and going further
Setting up this AI homelab was great fun and actually useful for supporting my MLOps and deep learning journey as opposed to the one-off demos I’ve been used to over the past few years. The only issue is that I can only train simple neural networks like LeNet without hardware acceleration provided by the AI Studio Pro extension dock. This means I will have to wait until the extension dock is available to run interesting AI/ML workloads relevant to modern deep learning.
Once my AI Studio Pro arrives, my next steps would be to:
- Install the Ascend Device Plugin and Ascend Docker Runtime from Huawei’s MindCluster project to manage the Ascend 310P4 NPUs in Kubernetes
- Create custom notebook images with MindSpore and CANN pre-installed and update JupyterHub to allow selecting various notebook images and resource specifications
- With the previous steps complete, continue on my MLOps and deep learning journey following the remaining chapters in the D2L textbook
I hope you enjoyed reading this blog post as much as I did authoring it and stay tuned for updates! ;-)
Subscribe:
![]()
![]()
![[Valid RSS]](/assets/images/valid-rss-rogers.png)
![[Valid Atom 1.0]](/assets/images/valid-atom.png)